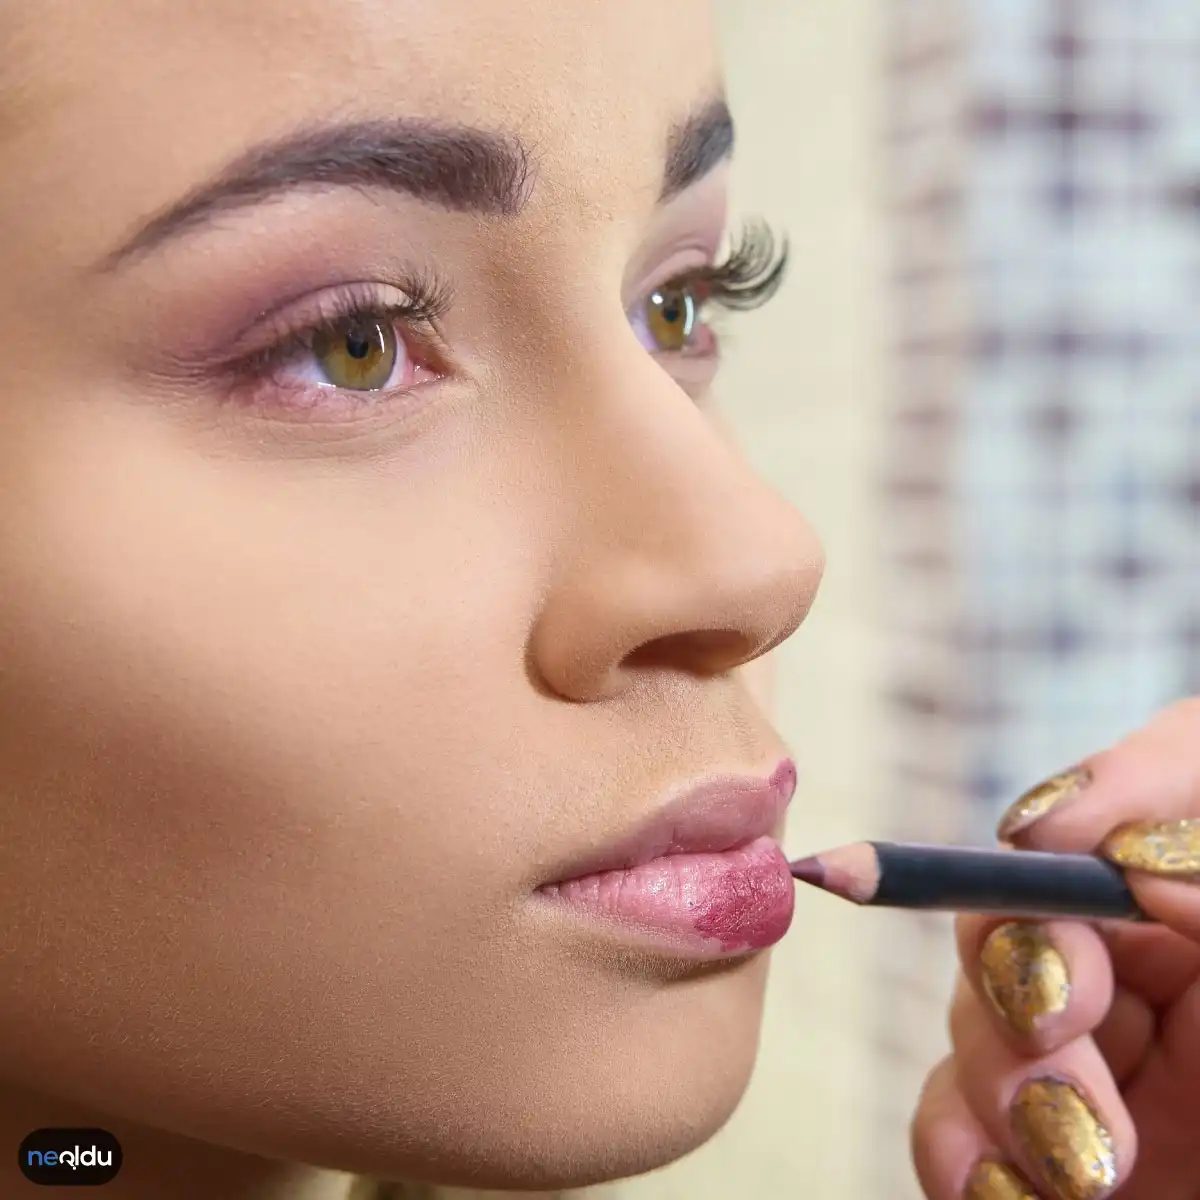
Let’s be real: lip liner is the secret weapon for lips that look fuller, sharper, and way more polished. But here’s the catch. If you don’t know the right way to apply it, you risk looking like a toddler who got hold of the crayons instead of a woman with flawless makeup.
The difference between a pro finish and a smudged mess often comes down to technique. Not just the color you pick, but how you put it on.
So, we’re diving into the basics. Specifically, what lip liner actually is and why it matters before you even touch your lipstick.
What Is Lip Liner, Really?
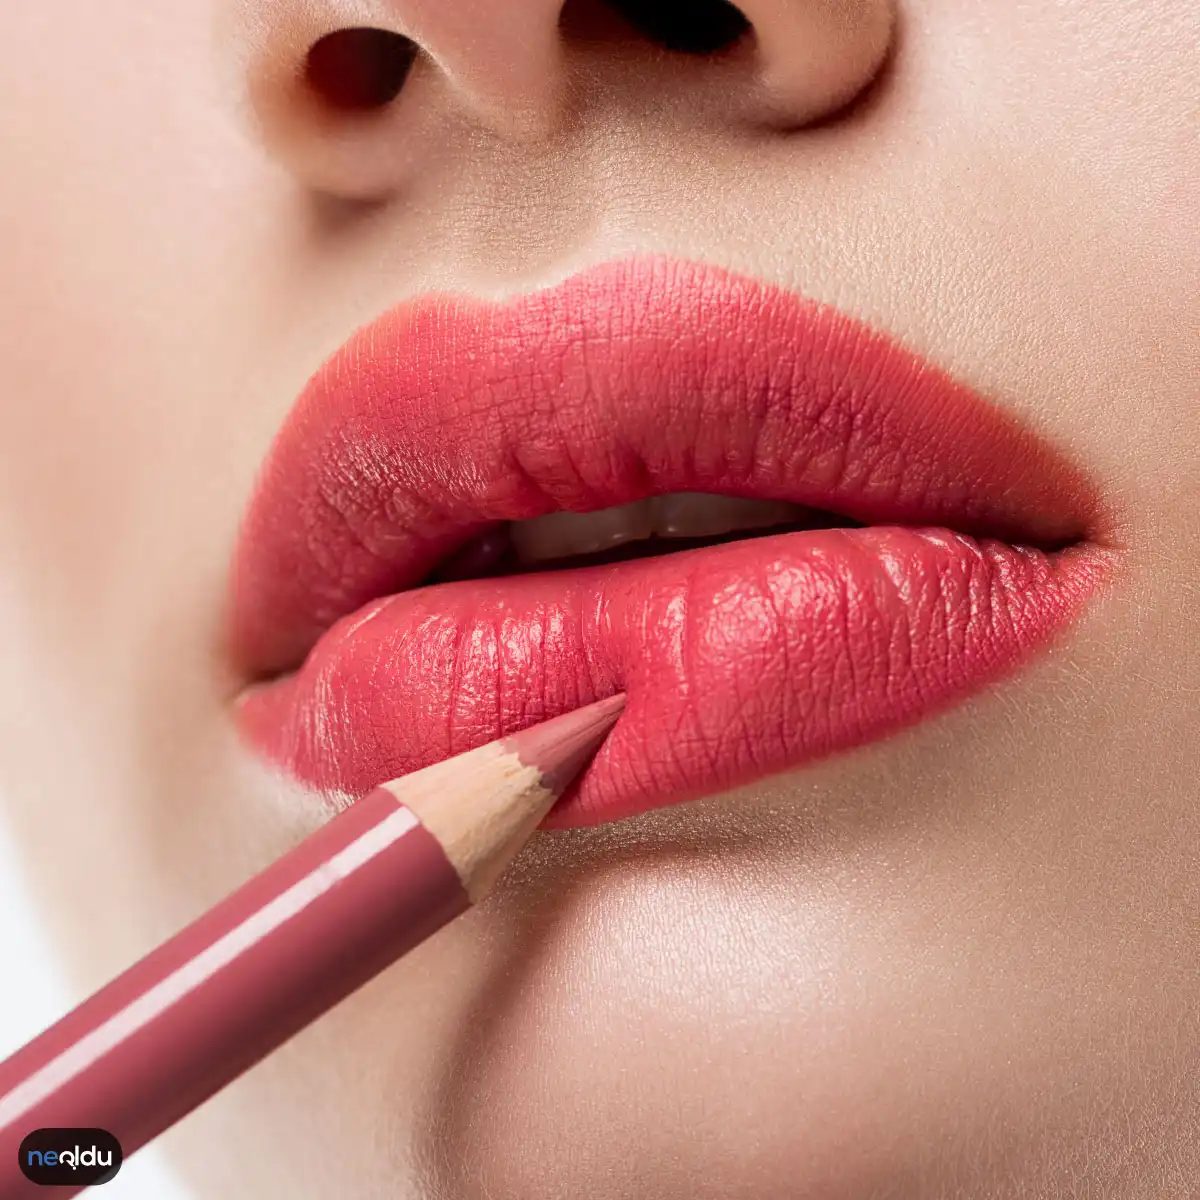
At its core, lip liner is just a pencil designed to define the border of your lips. But calling it “just a pencil” sells it short. It serves three main purposes that make it non-negotiable for many makeup routines.
- Prevents Feathering. Lipstick, especially glossy or creamy formulas, has a habit of migrating. It creeps into those tiny vertical lines above your lip. Liner acts as a barrier. It holds the color in place.
- Creates Structure. Your natural lip shape might be asymmetrical or slightly uneven. Liner lets you correct that. You can sharpen the cupid’s bow. You can balance out a lip that sits lower on one side.
- Boosts Longevity. Think of it as a base coat for your nails, but for your mouth. It gives the lipstick something to grip onto. This means your color stays put longer, especially through coffee or meals.
“Lip liner isn’t about changing who you are. It’s about giving your natural features a frame.”
Many people skip this step because they’re afraid of looking harsh. Or they think their natural lip line is perfect as is. But using a liner that matches your natural lip color (or your lipstick shade) can actually make your lips look more integrated, not less. It blurs the edge between your skin and your makeup, creating a smoother transition.
The key isn’t to draw a hard, black border around your mouth. That’s a dated look. The modern approach is about definition without visibility. You want people to notice the shape, not the product.
Ready to actually put it on? Let’s talk about the techniques that separate the pros from the guessers.
Hangi dudak kalemi benim için doğru?
Dudak kalemini sadece rujun kenarını belirlemek için değil, aslında bütünlük için kullanıyoruz. Amaç belli: dudaklar daha dolgun, pürüzsüz ve net görünsün. Kalem yumuşak, çizgide kayan bir yapıda. Genellikle rujunuzla aynı aileden bir ton seçersiniz. Böylece renk vurgulanır, ruj daha uzun süre dudakta kalır.
Bu basit araç, dudak hattınızı tanımlayarak hacim katabilir. Yanlış seçim veya teknik ise sonuç hayal kırıklığı. Doğru ürün ve doğru uygulama, dudaklarınıza o istenen şekli verir.
Rujla uyum ve kalıcılık nasıl sağlanır?
Dudak kalemi seçerken ilk durmanız gereken yer rujunuzla ton uyumu. Eğer rujunuz mat ise, kalem de mat olmalı. Parıltılı rujla mat kalem karışımı bazen keskin bir sınır oluşturur, istediğiniz yumuşak geçişi bozar. Tam renk eşleşmesi en güvenli liman. Ancak bazı uzmanlar, rujdan bir ton daha açık veya koyu bir kalemle dudakları dolgunlaştırabileceğinizi söyler. Deneme yapmadan karar vermeyin.
Kalıcılık için formülün içindeki maddelere bakın. Waxy (mumcu) yapılar dudak üzerinde tutunur. Hydrating (nemlendirici) formüller ise çatlamayı önler. Kuru dudaklara nemlendirici kalem seçmek, rujun çatlamasını engeller.
Ten rengi ve dudak tonuna göre seçim
Kalem seçimi sadece rujla sınırlı değil. Ten renginiz de önemli. Açık tenlerde pastel tonlar doğal dururken, koyu tenlerde daha doygun renkler belirginlik sağlar. Kendi doğal dudak renginiz de devreye girer. Koyu dudak rengine sahipseniz, nude bir ruj kullanacaksanız, dudak kalemiyle önce o koyuluğu kapatmanız gerekebilir. Beyazımsı veya peach tonlarındaki kalemler bu “taban” işini görür.
Uç tipi: Köşeli mi yuvarlak?
Ucun şekli uygulamanızı değiştirir. Köşeli uçlar, dudak kenarlarını keskin ve net çizer. Yuvarlak uçlar ise dağıtımı kolaylaştırır, doğal bir efekt için daha iyidir. Eliniz titriyorsa yuvarlak uçla başlayın. Hassas çizgiler istiyorsanız köşeliyi tercih edin.
Fiyat ve kalite dengesi
Pahalı kalem her zaman daha iyi demek değil. Ama çok ucuz ürünler dudaklarda kuruluk yapabilir veya renk taşabilir. Ara fiyat segmentindeki markalar genellikle yeterli kalitede formüller sunar. İlk kez alıyorsanız, tek renkle başlayın. Nostalgik bir nude ya da doğal kırmızı tonu her zaman iş görür.
“Dudak kalemi, rujunuzun haritasıdır. Rujunuz nereye yayılacak
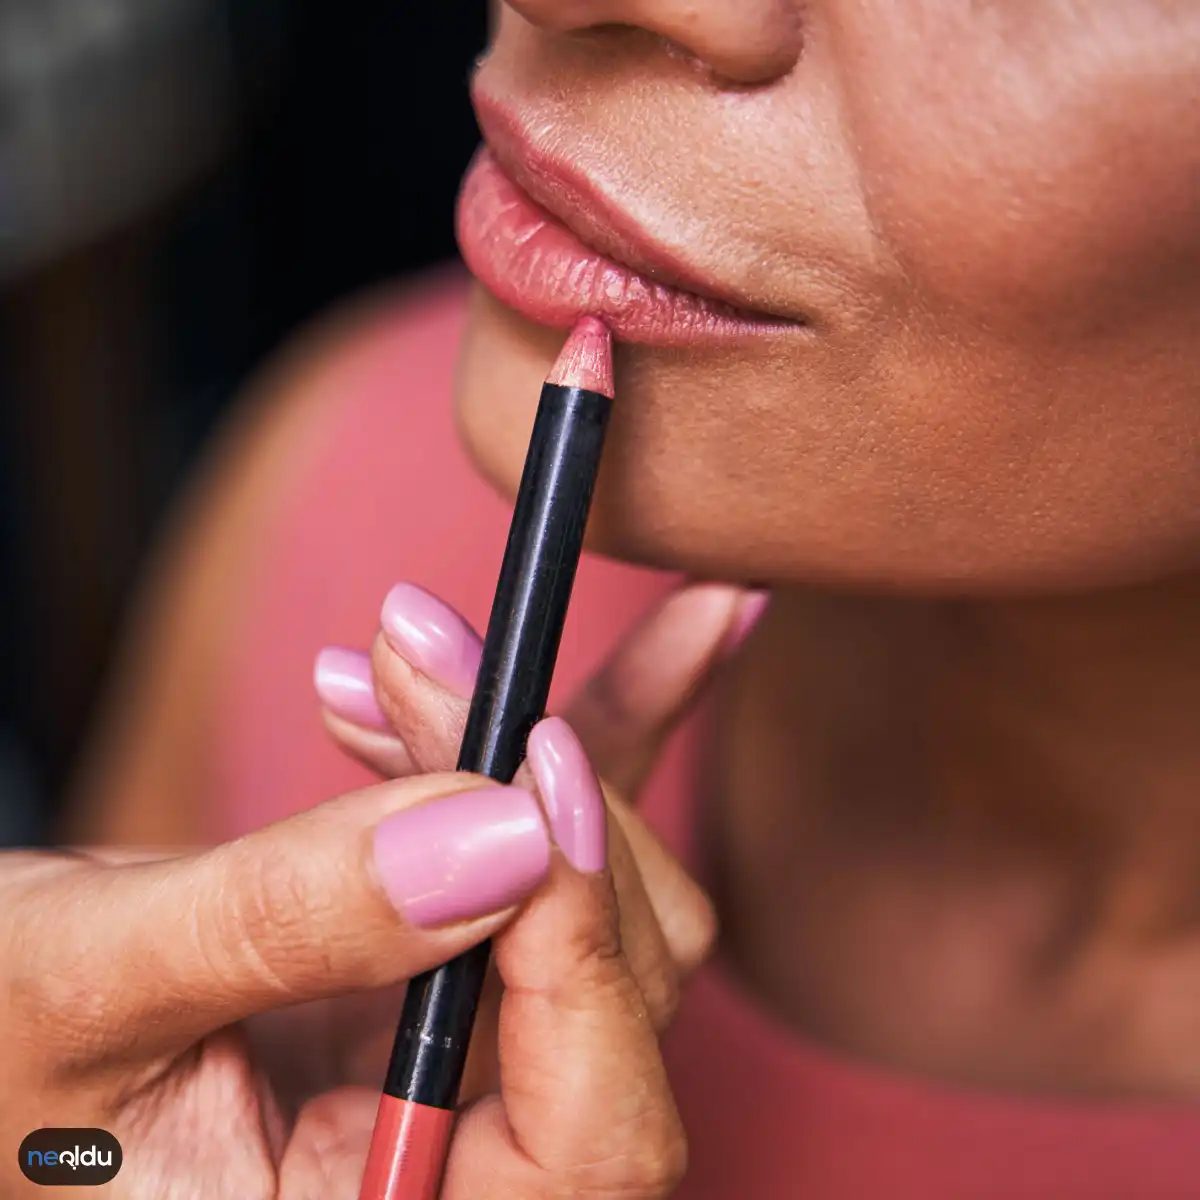
Lip liner is the unsung hero of lip makeup. Skip it, and your lipstick might feather, fade, or just look… off. Choose the right one? That’s where the magic happens. It’s not just about drawing a border. It’s about structure, longevity, and that clean edge that makes the rest of your face pop.
Choosing the right pencil comes down to a few specific factors. Get these wrong, and you’re fighting the product all day. Get them right, and it works for you.
Renk Seçimi: Ten ve Ruj Uyumu
Color isn’t just aesthetic. It’s functional. The pencil should match your lipstick exactly if you want a seamless blend. Or, go one or two shades lighter if you want to brighten the look. But here is the catch: it must harmonize with your natural lip tone and skin undertone.
If your lipstick bleeds, that’s usually a color mismatch. Using the exact same shade for the liner and the lipstick creates a unified look. It stops the “halo” effect where your lip color escapes its boundaries. Think of it as a fence. The fence needs to be the same height and color as the field it encloses.
Formül Mat Mı, Parlak Mı?
Formulas vary wildly. Matte? Long-wearing. It grips. Shine or glitter? Adds dimension. If your lips look thin, a shimmery liner can create an optical illusion of fullness. It catches the light. A matte liner is better for a blurred, ombré effect or if you just want the color to stay put for hours without feathering.
Dayanıklılık ve Suya Dayanıklılık
Why does your makeup slide off by lunch? Probably because your liner wasn’t water-resistant or long-wearing. A good pencil sets the foundation. It creates a barrier. If you’re eating, drinking, or just existing in humidity, a waterproof or transfer-resistant formula is non-negotiable. It keeps the color locked in. Without it, even the best lipstick is just sitting on top of your lips, waiting to be wiped away.
Uygulama Kolaylığı: Doku ve Dağılım
Harsh lines are so last decade. You want a pencil that glides. No dragging. No tugging. If it feels like sandpaper, put it down. It should be soft enough to blend with a brush or your finger. The texture needs to be smooth. If it breaks or skips, it’s dry. Dry pencils dry out lips too. Look for a creamy consistency that lays down color evenly but doesn’t slip.
Kalite: Doğallık ve Sağlık
Cheap pencils can feel waxy. They can crack. They can irritate. Quality matters because your lips are sensitive skin. A good pencil shouldn’t just look natural; it should keep your lips healthy. It shouldn’t dehydrate them. Look for ingredients that nourish. Long-lasting doesn’t mean long-drying. There’s a difference.
Dudak Şekline Göre Kalem Sürme Teknikleri
Now, the actual drawing. This is where technique overrides product. You can have the most expensive pencil in the world, but if you draw a box around your lips, it’ll look like a cartoon.
Start small
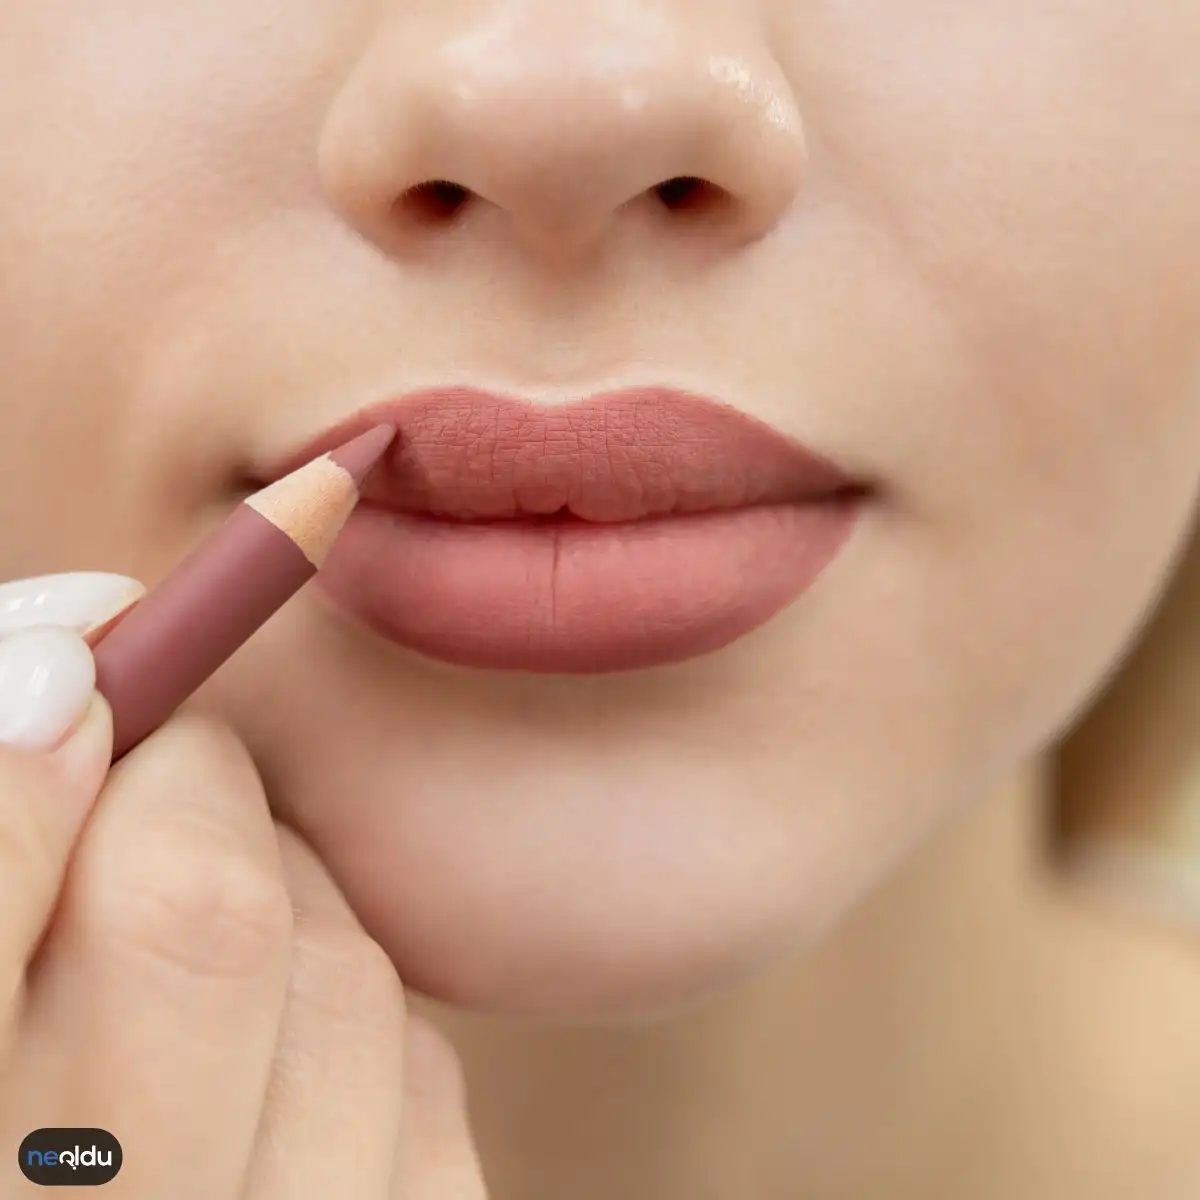
Dudak kalemi, makyaj çantanızın en sessiz ama en etkili silahıdır. Sadece rengi sabitlemek için değil, dudaklarınızın anatomisini yeniden çizmek için de kullanılabilir. Doğru kalemi ve doğru tekniği seçerseniz, simetriyi yakalayabilir, hacim kazandırabilir veya daha doğal bir profil elde edebilirsiniz. Yanlış uygulama ise tam tersini yapar: dengesizlik ve yapaylık.
İşte farklı dudak yapılarına göre uygulama stratejileri.
İnce Dudaklar İçin Kalem Sürme Tekniği
Hacim arıyorsanız, kural basittir: çizginin dışına çıkın. İnce dudaklara sahipseniz, dudak kalemini doğal dudak çizgisinizin hemen dışında, çok hafifçe dışarıya doğru uygulayın. Bu teknik, dudaklarınıza anında dolgunluk katar.
Dikkat: Çok fazla dışarı taşmamaya özen gösterin. Sınırlar bulanıklaşırsa, makyajınızın gerçek dışı durmasını istemeyebilirsiniz. Hafifçe dışa doğru çizmek, alt dudakta da aynı prensiple devam ederek dengeli bir görünüm sağlar.
Kalın Dudaklar İçin Kalem Sürme Tekniği
Tam tersi bir durum söz konusuysa, yani dudaklarınız zaten dolgunsa, hedefiniz doğal bir denge kurmaktır. Bu durumda kalem, dudak çizgisinin içinde kalmalıdır.
Çizgiyi dışa taşımak, dudaklarınızı olduğundan daha belirgin hale getirir ve facialarda bir dengesizlik yaratabilir. İçeriye doğru çekerek çizdiğiniz hat, dudaklarınızın doğal güzelliğini korurken daha kompakt ve tanımlı bir görünüm sunar.
Alt Dudak İnce, Üst Dudak Kalın Olanlar İçin Kalem Sürme Tekniği
Dudaklarınızın üst alt dengesizliğini dengelemek istiyorsanız, stratejiniz kontrast olmalıdır.
- Alt dudak: İnce olduğu için, kalemi çizginin hemen dışına uygulayarak hacim kazandırın.
- Üst dudak: Kalın olduğu için, kalemi çizginin içine alarak hafifçe küçültün.
Bu iki hareketin birleşimi, yüzünüze daha simetrik ve uyumlu bir yapı katar.
Alt Dudak Kalın, Üst Dudak İnce Olanlar İçin Kalem Sürme Tekniği
Durum tersine döndüğünde de aynı mantık geçerlidir. Sadece roller değişir.
- Alt dudak: Kalın olduğu için, kalemi çizginin içine alarak sınırlarını daraltın.
- Üst dudak: İnce olduğu için, kalemi çizginin dışına çıkararak dolgunlaşmasını sağlayın.
Bu teknik, özellikle üst dudak eksikliği yaşayanlar için etkili
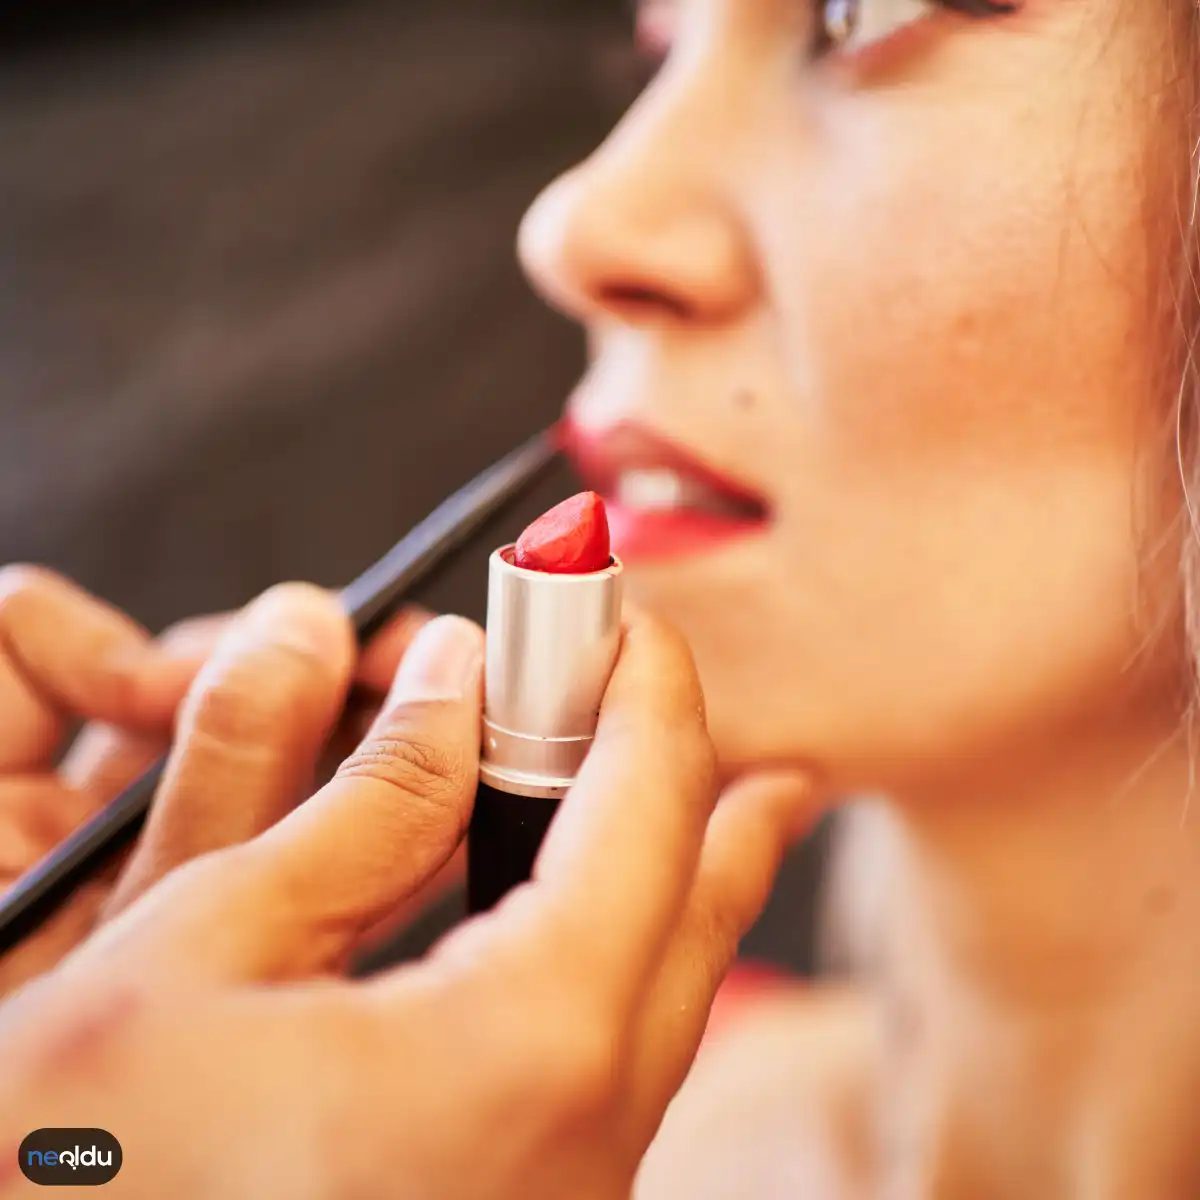
Dudak Kalemi Seçiminde Yapılan Yaygın Hatalar
Renk seçimi basit bir tercih gibi görünse de, makyajın bütünlüğünü bozan en büyük hatalardan biri. Dudaklarınızın doğal tonuyla uyumsuz bir kalem seçerseniz, sonuç yapay durur. Sadece teninize değil, üstüne süreceğiniz rujun tonuna da dikkat edin. Bazen aynı aileden gelen ama farklı doygunlukta tonlar, biriyle diğerini dengelerken diğeriyle çelişir.
Uygulama tekniği de aynı derecede kritik. Kalemi çok baskı uygulayarak sürerseniz, dudak etrafında keskin, sert çizgiler oluşur. Bu, makyajın taze ve canlı görünmesini engelleyen klasik bir hata. Tam tersi durumda, yani kalemi çok hafif ve dağınık şekilde kullanırsanız, renk dudaklara tutunmaz. Sınır belirsizleşir, dudaklarınız belirginleşmez ve rujunuz da yerinde durmaz.
Birçok kişi kalemi sadece dudak çizgisini tanımlamak için kullanır. Oysa bu araç, rujunuzu sabitlemek için de kullanılabilir. Tüm dudak yüzeyine ince bir tabaka olarak uygulayarak rujunuzu üzerine koyduğunuzda, rengin daha uzun süre kalmasını ve dudaklara dolgunluk katmasını sağlayabilirsiniz. Bu yöntem, özellikle kuruluk sorunu yaşayanlar için rujun çatlamasını da önler.
Şekil verme konusunda ise doğal hatlardan sapmamak gerekir. Dudaklarınızın mevcut yapısını takip etmek, abartılı konturlardan kaçınmak en güvenli yol. Yapay bir şekil çizerken doğal duruşunuzdan uzaklaşır ve makyajınızın gerçek dışı hale gelmesine neden olursunuz. Doğallık, her zaman daha etkileyici bir izlenim bırakır.
Profesyonel Dudak Makyajı İçin Adım Adım Rehber
Profesyonel bir sonuç elde etmek için öncelikle dudaklarınızı nemlendirin. Kuru dudaklar, her hangi bir makyajın düzgün oturmasını engeller. Nemlendiriciyi uyguladıktan sonra fazlalıklarını kağıt havluyla silin. Bu adım, kalemin ve rujun doğrudan cilde temasını sağlar ve rengin daha canlı çıkmasını garantiler.
Sonra, doğal dudak hattınızı hafifçe belirginleştirin. Kalemi kullanarak dudaklarınızın dış çizgilerini hafifçe aşın, böylece dolgun bir görünüm elde edin. Ancak abartmayın. Ardından, rujunuzu uygulayın. İstediğiniz yoğunluğa ulaşana kadar katman halinde uygulayarak, rengin daha kalıcı olmasını sağlayın. Son olarak, fazla ruju temizlemek için parmağınızı dudaklarınıza hafifçe bastırın ve dağıtın. Bu teknik, makyajın daha doğal ve profesyonel görünmesini sağlar.
Prep the canvas first
Skip the liner until your lips are actually ready. If they’re dry or chapped, even the best product will look cakey. Slather on a hydrating balm or oil, let it sink in for a few minutes, then blot away the excess. You want softness, not grease.
Pick the right liner
Match the color to your natural lip tone or the lipstick you plan to wear. The tip needs to be sharp enough for precision but soft enough to glide without tugging. A waxy, stiff pencil will drag your skin; you want something that melts slightly on contact.
Outline and define
Trace your natural lip line. Press the pencil just inside the border to avoid a harsh, drawn-on look, but define the edges to prevent feathering. Keeping the liner shade close to your final lipstick color ensures a seamless blend later.
Fill in the base
Don’t just outline. Fill in the entire lip surface with the liner. This acts as a primer, giving the lipstick something to grip onto. It also boosts the color payoff, meaning you won’t need to layer on thick coats of lipstick that might slide off by lunchtime.
Apply the lipstick
Start from the center of your lips and work your way outward toward the liner. This technique helps avoid pushing the product outside your defined lines. Apply in thin layers if needed for full opacity, building up the color rather than going for one heavy swipe.
Add the shine
A dab of gloss on top adds dimension. It makes lips look plumper and reflects light, creating that coveted dewy finish. Apply lightly to the center of the lips to draw attention to the fullness.
The reality check
Good makeup starts with good skin care. If you’re using liners and long-wear formulas daily, you’re likely stripping your lips of natural moisture. Clean your makeup off thoroughly every night. Rehydrate. Your lips deserve more than just pigment; they need care to stay healthy and smooth.
Why does my lip liner make my lips dry?
Liners can be drying because they often contain waxes and pigments that absorb moisture. If you apply them over dry lips or wear them for extended periods without re-balm-ing, dehydration sets in quickly.
How to choose a lip liner that lasts?
Look for a formula that is creamy, not chalky. A harder pencil will scratch your lips, while a softer one might break easily. The key is balance: something that glides on smoothly but sets to a semi-matte finish to hold lipstick in place.
Can I use lip liner without lipstick?
Yes, but it looks most natural when paired with a tinted balm or a light gloss. Using liner alone can sometimes look too stark or artificial unless blended thoroughly with a finger or brush.
What is the best way to remove lip liner?
Oil-based cleansers work best. The waxes in liner repel water, so a simple rinse won’t cut it. Massage an oil cleanser or micellar water onto your lips to dissolve the pigment gently, then wash as usual. Never scrub.