


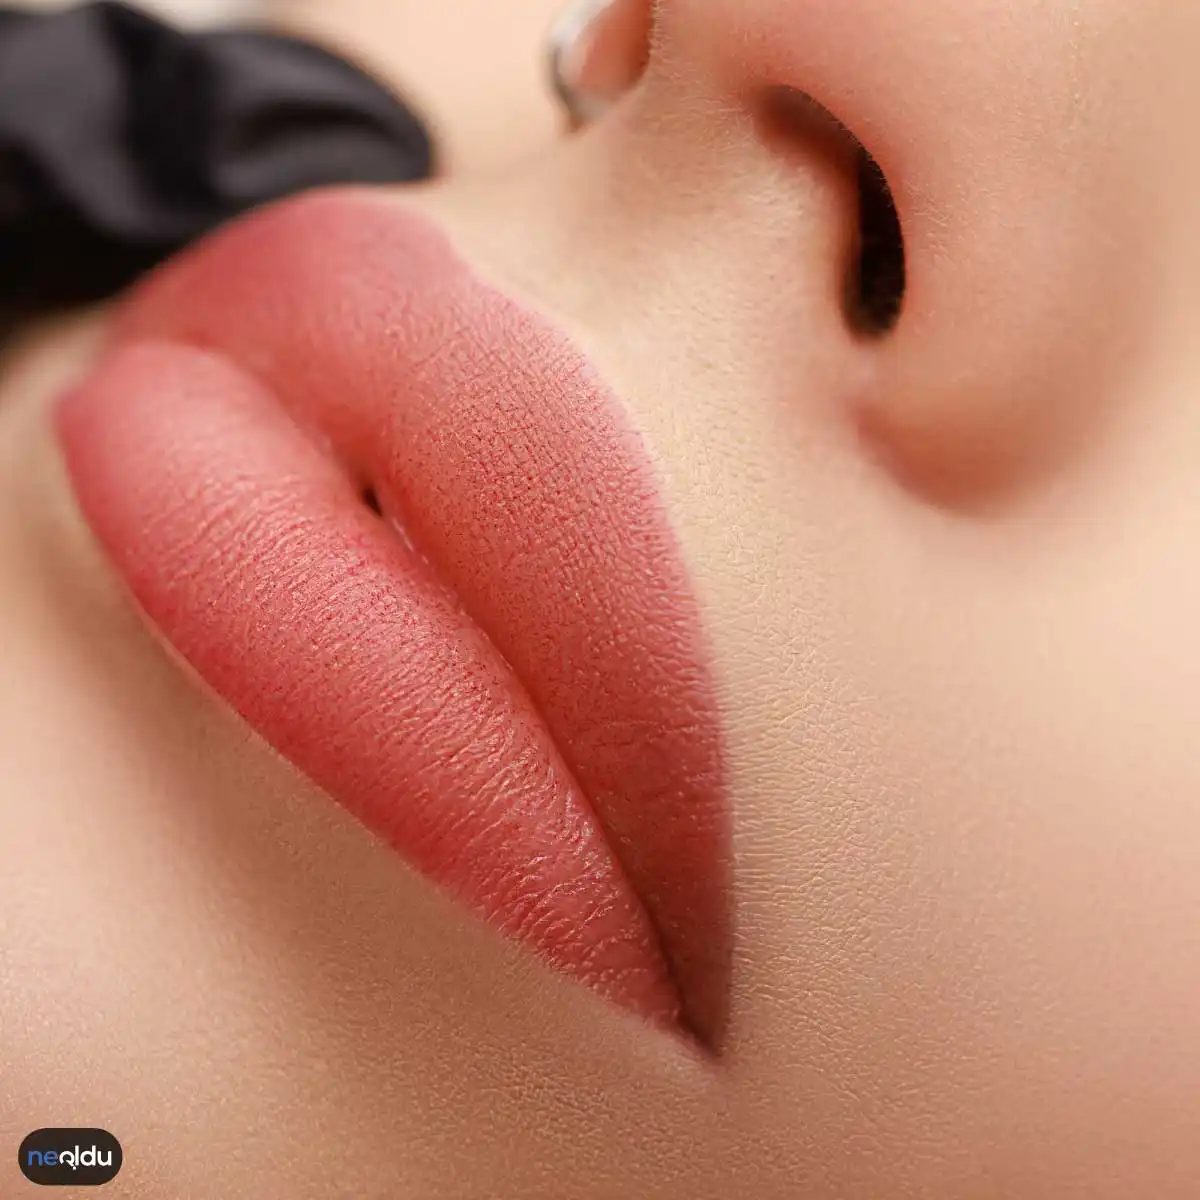
Ombre lip makeup is a technique that allows you to create a voluminous and dimensional look by applying intense tones to the center of your lips and lighter tones to the edges. This style emphasizes the natural shape of your lips while adding a fuller look to them. This trend, which you can apply with different color transitions and styles, has become one of the most popular makeup applications today.
How do you do Ombre lip makeup at home?
With the right techniques, you can get professional results at home. The first step is to determine the lip contour. Apply a darker shade of lipstick or gloss to the center of your lips, where they are thickest. Then, apply a lighter tone to the outer edges to create a smooth transition between these two colors. Use your finger or a small makeup sponge to blend. As long as the dark color stays in the center, your lips will look optically fuller and more attractive.
Which shades work in ombre lip makeup?
Color choice determines everything here. You’re using two different shades from the same color family. It is darker in the middle and a pale version of this color towards the outside. The aim is not to exaggerate the lips, just add depth.
If you want a natural look, start with a matte lipstick that is slightly darker than your own lip color. Soften this color with a gloss or a lighter tone as you move to the outer edges. Pink tones add a romantic atmosphere. Dark burgundy or burgundy are more dramatic, suitable options for the night.
“Ombre technique does not change the shape of the lips, it emphasizes the existing structure.”
So don’t try to lift your lips. Follow your current line. If your lips are naturally full, this technique will make them look even fuller. For thin lips, it is more balanced to keep the dark color in the middle only in the center and spread it slightly to the edges, instead of moving it too far out.
How do you apply makeup?
The steps are simple but the implementation is in the details.
- Base: Moisturize and lightly matte your lips.
- Center: Apply your dark tone to the very center of your lips, usually where the lower and upper lips are fullest.
- Transition: Here is the critical point. Don’t let the dark color create a harsh line outward. Blend outward with a soft brush or your fingertips.
- Outer Edge: Apply your lightest shade or gloss towards the outer edge, that is, towards your lip line.
Conclusion? A gradient. A clear, smooth transition from dark to dark. Lips appear optically more voluminous.
So which products work?
Matte lipsticks create the best base because they are easier to apply. Polishers are the fastest way to smooth the transition. You can also do it with just one product. Apply a dark lipstick to the center, then press the edges of the lips with your finger and spread outwards. This method is a practical solution for those who do not like to carry two different products.
Wherever you start, the rule is the same: Dark in the middle, light on the outside. And never make your lip line too pronounced. Ombre is beautiful when blurry.
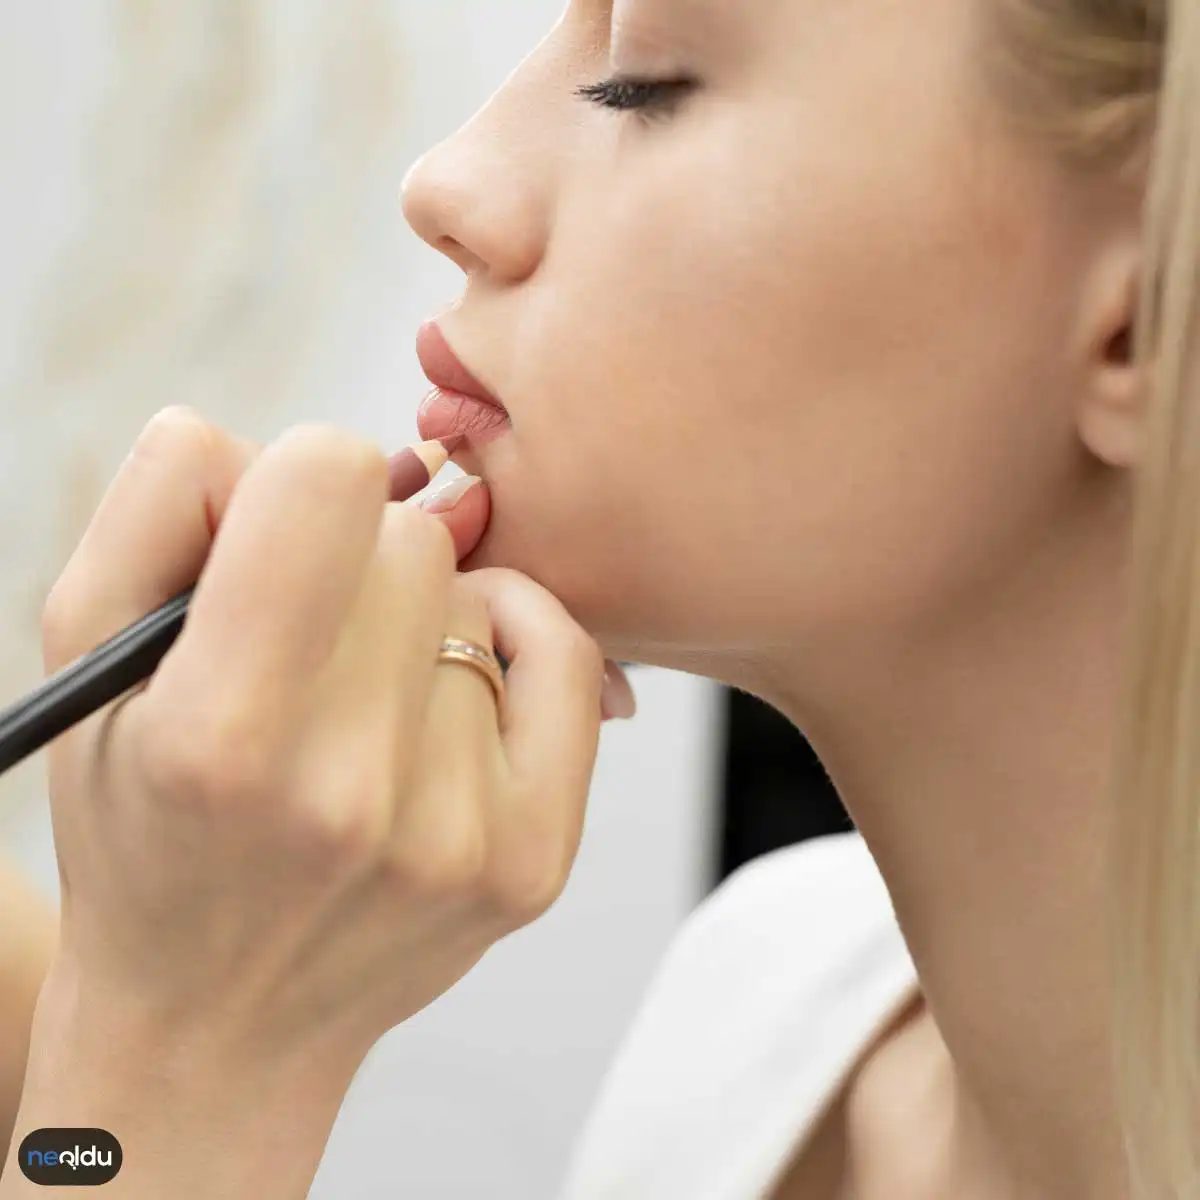

Ombre lip makeup is actually a simple system based on combining two different colors and softening the transition between them. It may seem like a complex technique, but if you choose the right colors, your result will be natural and deep. The most critical point here is that the shades you choose “recognize” each other and your natural lip color.
How to Choose Ombre Lip Color Based on Skin Tone?
When deciding which color will suit you, leave aside the cliché of “get nude”. What really matters is the harmony with your skin.
- Light skinned: Pink and soft nude tones come into play here. It doesn’t look very striking, it rather highlights your skin.
- Dark skinned: Colors with orange and brown undertones suit this skin tone better. Light pink may disappear or look pale on darker skin.
Your hair color and your outfit that day are also included in the equation. If you are wearing a dark evening dress, you will look for a tone that will carry that weight on your lips. If you are going out with a casual t-shirt, light and natural tones make much more sense.
Different Ombre Applications for Day and Night
The same technique produces different results in different environments.
The target for day make-up is the feeling of “I have lips but they don’t look like I’m wearing make-up”. That’s why the transitions should be very light and the colors should be matte and close in tone. There should not be an exaggerated contour feeling.
In night make-up, things are different. Dark and vibrant tones create contrast and highlight the lips. Here the ombre transition may be more pronounced, even a slight “burn” effect may be desirable.
Lipstick and Pencil Compatibility for a Natural Look
The biggest secret to making the color transition look natural is to choose the pencil and lipstick in the same tone. Using two products from different brands that are close to each other but not the same can trigger that “burnt” and artificial look.
When you choose a pencil and lipstick from the same series, from the same tone family, the pigments recognize each other. The transition becomes smoother and blends with the natural structure of your lips. This small detail often determines the difference between “professional makeup” and “I did it myself at home”.
As a result, ombre lip makeup is more of a color game unique to you than a fashion trend. Once you find the right combination, it’s even possible to try different combinations every day. Maybe the real issue is
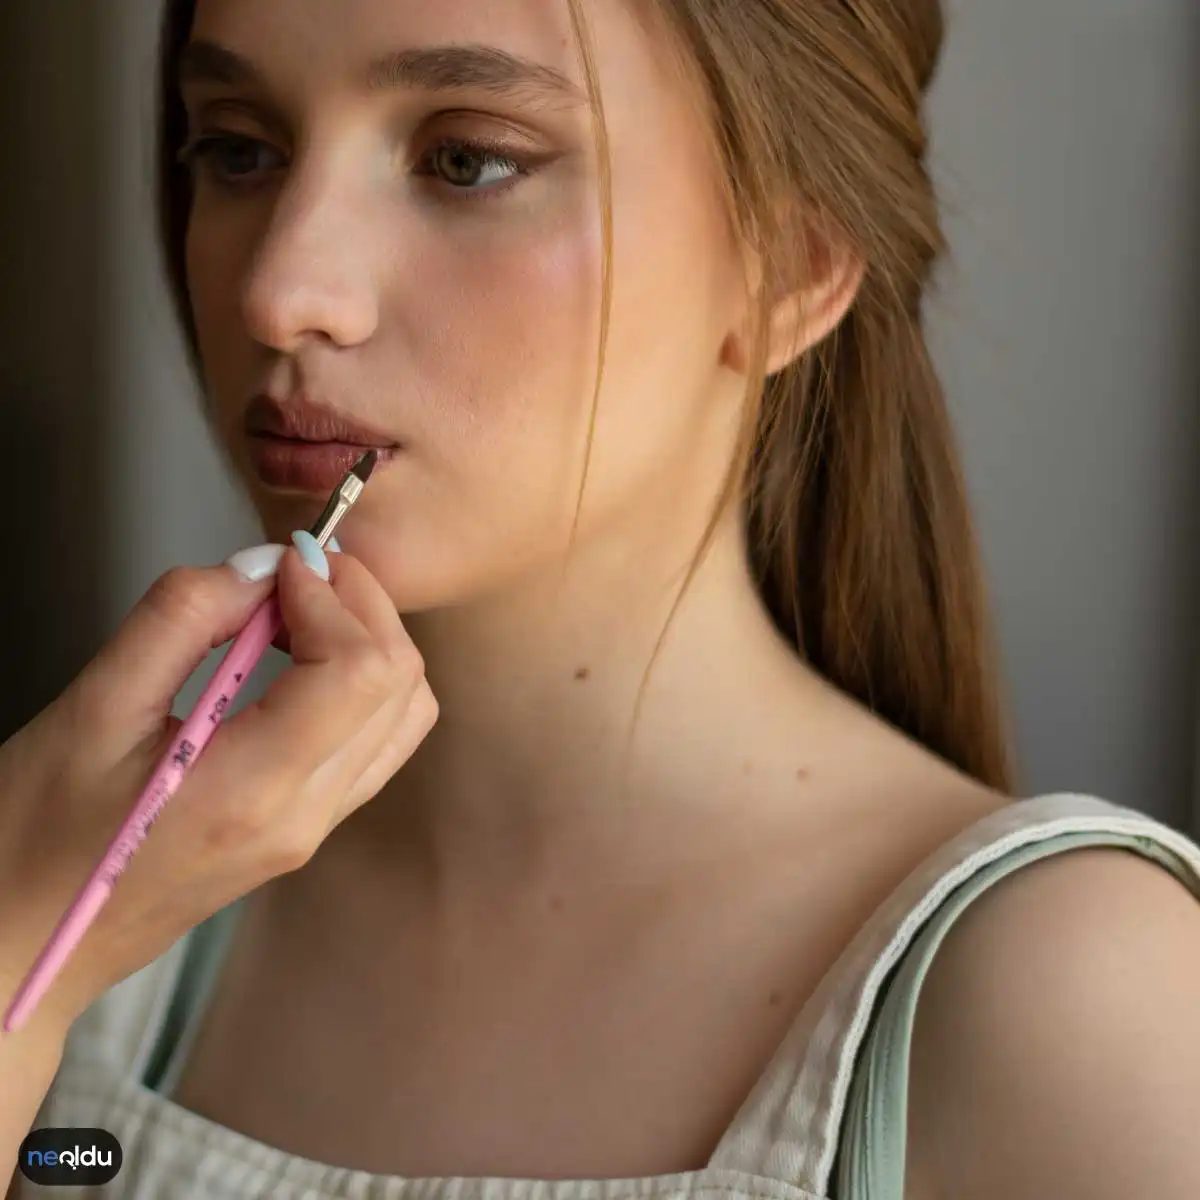
How to do Ombre lip makeup
Achieving an ombre look in dark tones is actually not as complicated as you think. The first step is to contour with a lip pencil that matches the lipstick color you are planning. This step is there to prevent the dark lipstick from smudging. If you apply dark lipstick directly without using the pencil, there is a high risk of it bleeding out.
After contouring, apply the main color of your choice as the base. Setting this base color before the top layer comes on makes it easier to control transitions.
Clarifying color transition
Draw a frame over your main lipstick again with a darker tone pencil. The critical thing here is not to use the pencil as a sharp line. You should apply the pencil by spreading it towards the inner part of your lips. This method softens hard edges and ensures a natural blend.
Optionally, you can also apply some highlighter to the middle part of your lips. This touch softens the underlying color and reveals a lighter tone. So you don’t need a second lipstick color. Illuminator is one of the most practical details that supports the ombre effect.
Different styles and finishing touches
If you want to make the color transition even smoother, a lip brush comes into play. You can soften the color boundaries by gently blending them with the brush.
Are you looking for a more pronounced and different ombre effect? Then apply different shades of lipstick to the inside of your lips. You can add depth by softening these layers with a lip brush.
You can choose polisher as the final touch. The sparkle completes all those laborious color transitions. It’s also possible to leave it without shine, but shine gives that “fresh” look.
Whichever technique you choose, the result will be a layered, modern finish that accentuates the shape of your lips.
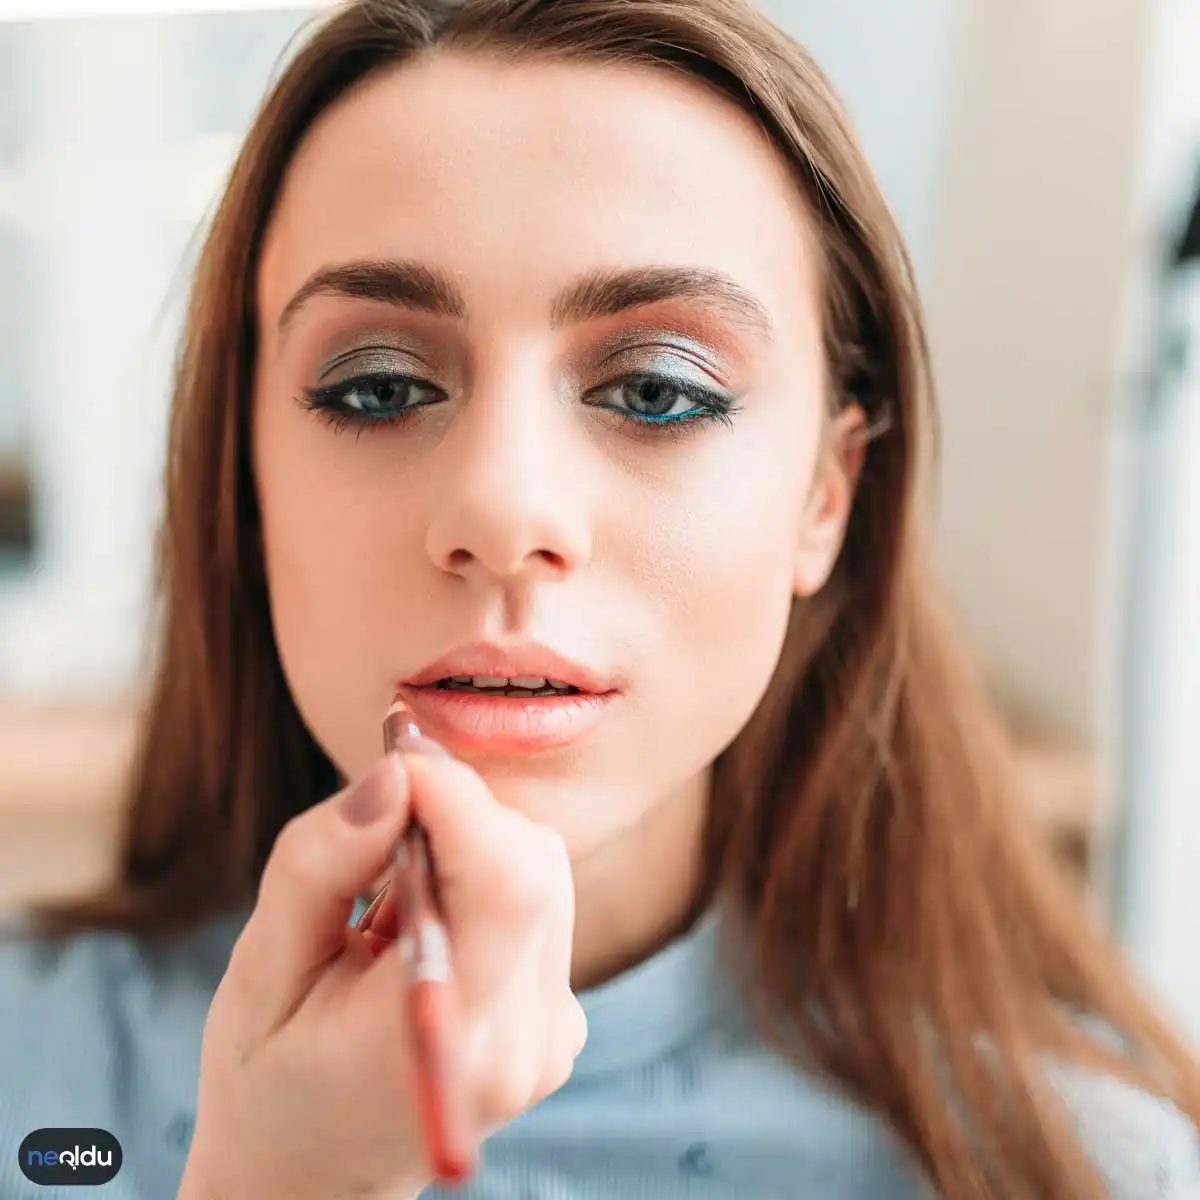
Which ombre lip techniques actually work for daily wear?
Ombre lip makeup isn’t just for photoshoots or gala nights. It is a versatile technique that shifts how light hits your lips, creating the illusion of volume without filler. The specific style you choose depends on your natural lip shape and the vibe you are chasing. You can keep it soft for a Tuesday morning meeting or push it harder for a weekend night out. The key is understanding how color placement changes perception.
How to apply classic ombre lips for a natural look
The standard method uses two shades of the same color family. Start with your lighter shade in the center of your lips. Then, take your darker shade and apply it only to the outer corners. Blend them where they meet. The goal is a gradual fade, not a hard line. If you can see a distinct border, you have not blended enough. This approach works best if you want to look polished but not overdone. It is a safe entry point for anyone new to gradient makeup.
Why dark outer corners make lips look fuller
This is the most common variation and for good reason. By concentrating the pigment at the edges, you draw the eye outward. It frames the lip. If you have thinner lips, this is your go-to. It adds visual weight to the perimeter. You are essentially sculpting with color. The contrast between the dark edge and the lighter center creates depth. It is a simple trick that yields a high-impact result.
Which style suits people with naturally full lips?
If your lips are already plump, heavy ombre might look cluttered. In that case, try the inverted approach. Use a darker tone in the center and a lighter shade on the edges. This keeps the focus on the fullness you already have without adding unnecessary drama. It is subtle. It adds a highlight effect rather than a contour effect. You are playing with light, not just shadow.
How to create a dramatic two-tone ombre effect
For a bolder look, split the upper and lower lips. Apply a deeper tone to your top lip and a softer tone to your bottom lip. This creates a visual separation that feels modern and edgy. It is not for everyone, but it works well if you are wearing minimal eye makeup. It draws all attention to the mouth. Keep the colors related. Don’t clash. Stick to analogous or complementary shades to keep it cohesive.
Where to start with metallic ombre lips
Shimmer changes the game. Use a light metallic shade in the center and a deeper metallic or matte shade on the outer edges. The light reflects differently at the center, making it pop. This style is great for evening wear. It catches the light as you move. Just be careful with the blending. Metal can look messy if the transition is too abrupt. Take your time. Pat the colors in rather than swiping.
Does ombre lip makeup work for all lip shapes?
Not exactly. The technique is most effective for those seeking added volume. If you have very thin lips, the gradient illusion helps. If you have very full lips, you might find the effect unnecessary or even distorting. It is personal. Test it in a mirror. See how the color interacts with your specific shape. There is no wrong answer, only what looks best on you.
How to make ombre lips last through dinner
Longevity is the main pain point. Start with a good lip primer. Hydrate first. Cracked lips will not hold color evenly. Use a lip liner to define your shape before applying the gradient. This prevents bleeding. If you are eating, be prepared to touch up. Sipping from a straw helps. The colors will fade, so carry your shades with you. A quick re-blend takes less than a minute. It is not about perfect permanence, it is about maintaining the effect.
Ombre is about light and shadow, not just color.
You can use any palette. Warm nudes, cool berries, deep plums. The technique is the same. The color is just the variable. Play with it. See what feels right. Your lips are your canvas, and you hold the brush.


