


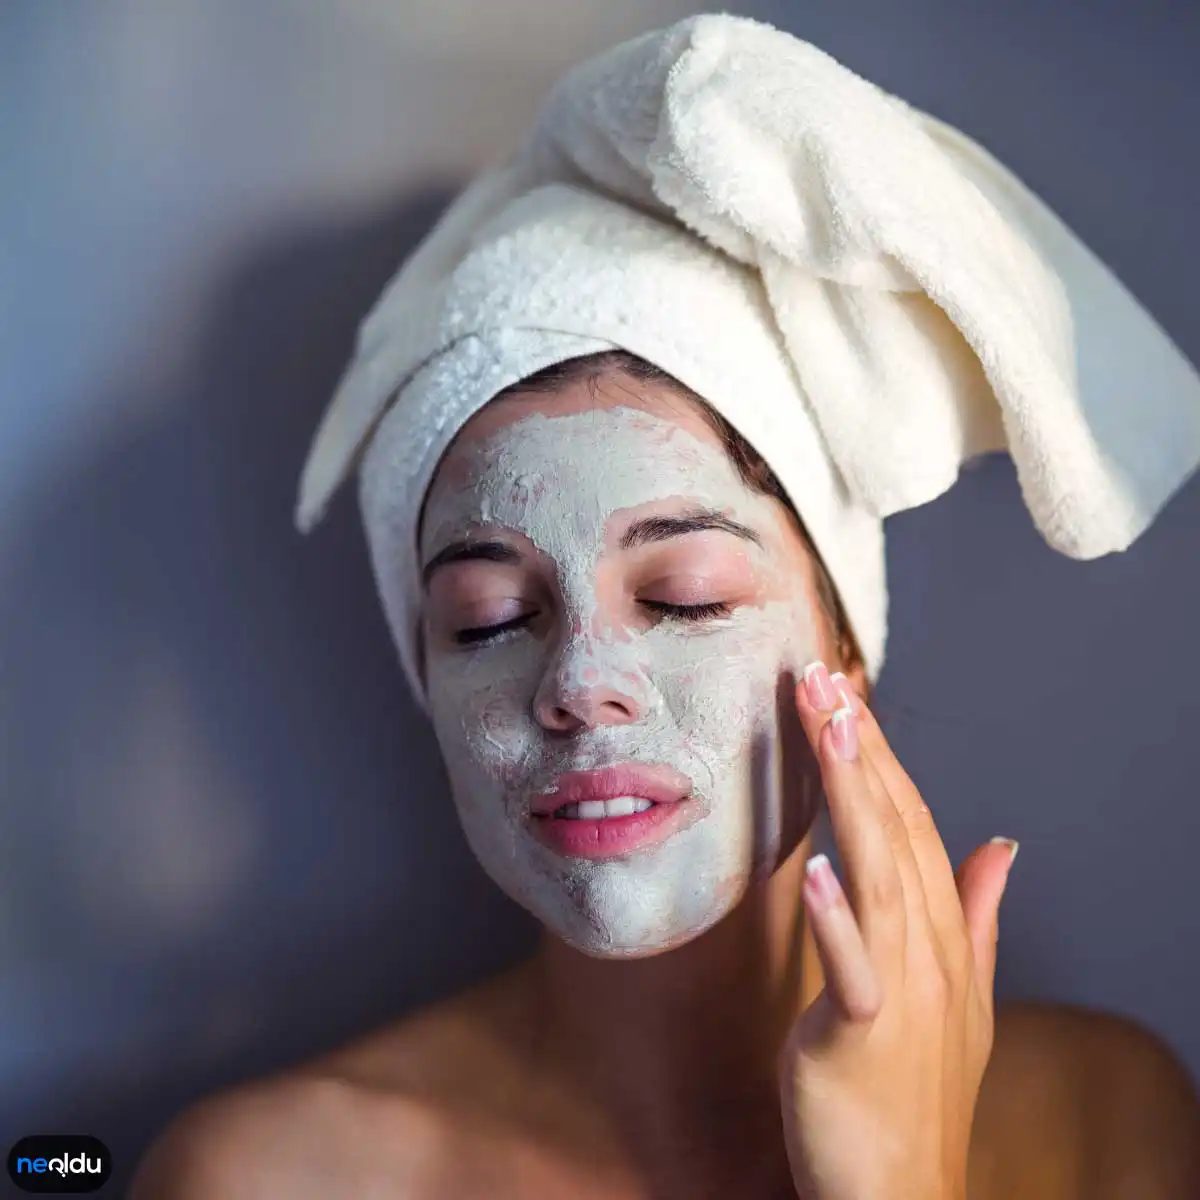
Skincare isn’t just about slapping on expensive serums. It is the foundation of looking healthy and glowing. But you do not need to empty your wallet to get that radiance. In fact, some of the best treatments are already in your kitchen. Face masks nourish, hydrate, and wake up dull skin. They are affordable. They are easy. And they work.
But here is the catch. A banana peel mask on oily acne-prone skin is a disaster waiting to happen. Choosing the right ingredients matters more than the price tag. Making a mess matters less than making it effective.
Know Your Skin Type Before You Mix Anything
You cannot treat what you do not understand. This is the first rule of natural skincare. Before you hunt for honey or avocado, you need to know what your face actually needs.
Oily skin needs balancing. Think clay masks. Think tea tree oil. Think lightweight hydration that does not clog pores.
Dry skin needs heavy moisture. avocado olive oil Honey. These ingredients lock in water and soften flaky patches.
Combination skin is tricky. You might be oily in the T-zone and dry on the cheeks. You need a balanced approach. Maybe a gentle clay mask on the nose and a hydrating layer on the rest of the face.
Sensitive skin requires caution. Avoid harsh acids. Stick to soothing ingredients like oatmeal, aloe vera, or cucumber. If it burns, wash it off immediately.
Why One Size Does Not Fit All
Many women jump straight to recipes online. They see “avocado mask” and assume it is good for everyone. It is not. If you have oily skin, adding avocado might leave you greasy and break out. If you have dry skin, a clay mask might suck the life out of your skin barrier.
This is why identifying your skin type is non-negotiable. It saves you time. It saves you money. And it prevents rashes.
“Natural does not always mean safe for your specific biology.”
Look in the mirror. Do you shine by noon? Oily. Does your skin feel tight after washing? Dry. Do you have blackheads but flaky cheeks? combination Take a note. Write it down. Your future self will thank you when you stop guessing and start treating.
The Basics of Mixing at Home
Once you know your type, the mixing process is straightforward. But there are rules.
- Clean tools. Use a clean bowl and spoon. Bacteria love old masks.
- Fresh ingredients. Ripe fruit. Cold pressed oils. Avoid processed leftovers.
- Patch test. Put a tiny bit on your inner wrist. Wait 24 hours. If it’s it, don’t put it on your face.
Common Ingredients and What They Do
You don’t need a chemistry degree. You just need to know what each item does.
- Honey: Antibacterial. Hydrating. Good for almost everyone except those with severe honey allergies.
- Oatmeal: Soothes irritation. Absorbs excess oil. Great for sensitive or acne-prone skin.
- Yogurt: Lactic acid gently exfoliates. pro

Listening to your own skin is your biggest helper when choosing and preparing the mask mixture. First you need to understand what you are facing. Whatever your skin type is, lean towards that direction.
Dry skin: Moisture retention cap
Dry skin often looks dull. It shrinks and flakes off. Itching sensation is also frequently accompanied. This type of skin needs to be treated like dehydrated soil. Moisturizing is indispensable.
Avocado is king here. Its oils penetrate deeply. Honey serves a similar function, being a natural humectant. Coconut oil and almond oil create a protective layer. Milk and yoghurt stand out with their softening effect. The mask prepared with these ingredients prevents the skin from cracking.
Oily skin: Keeping it balanced
A shiny face is not always desirable. Oil control is a must, especially if you have a tendency to acne. Oily skin should be cleaned without clogging the pores.
Clay absorbs excess oil. Lemon juice and apple cider vinegar maintain pH balance. Cucumber refreshes and cools. Tea tree oil fights bacteria. These ingredients cleanse the skin without aggravating it. It is important to avoid overdrying; target balance.
Combination skin: Balance between two extremes
The T-zone is oily, the sides are dry… Combination skin is the most complicated. It requires both moisturizing and oil control. There cannot be a single solution.
Honey is both moisturizing and mildly antiseptic. Avocado nourishes deeply. Lemon juice and clay mattify oily areas. Green tea and milk also contribute to this balance. It may be necessary to focus differently for each region. In general, materials that both moisturize and control oil should be preferred.
Sensitive skin: Staying calm
Sensitive skin is alert to everything. Easy to irritate, high risk of allergy. Aggressive materials should be kept away from this type of skin. Softness is key.
Oatmeal relieves itching. Aloe vera gel soothes. Honey and coconut oil are protective. Chamomile and lavender are known for their calming effects. These ingredients calm the skin’s defense mechanism.
Skin type changes over time. Seasonal changes, stress, hormones… Everything affects it. So instead of keeping the mask materials fixed, c
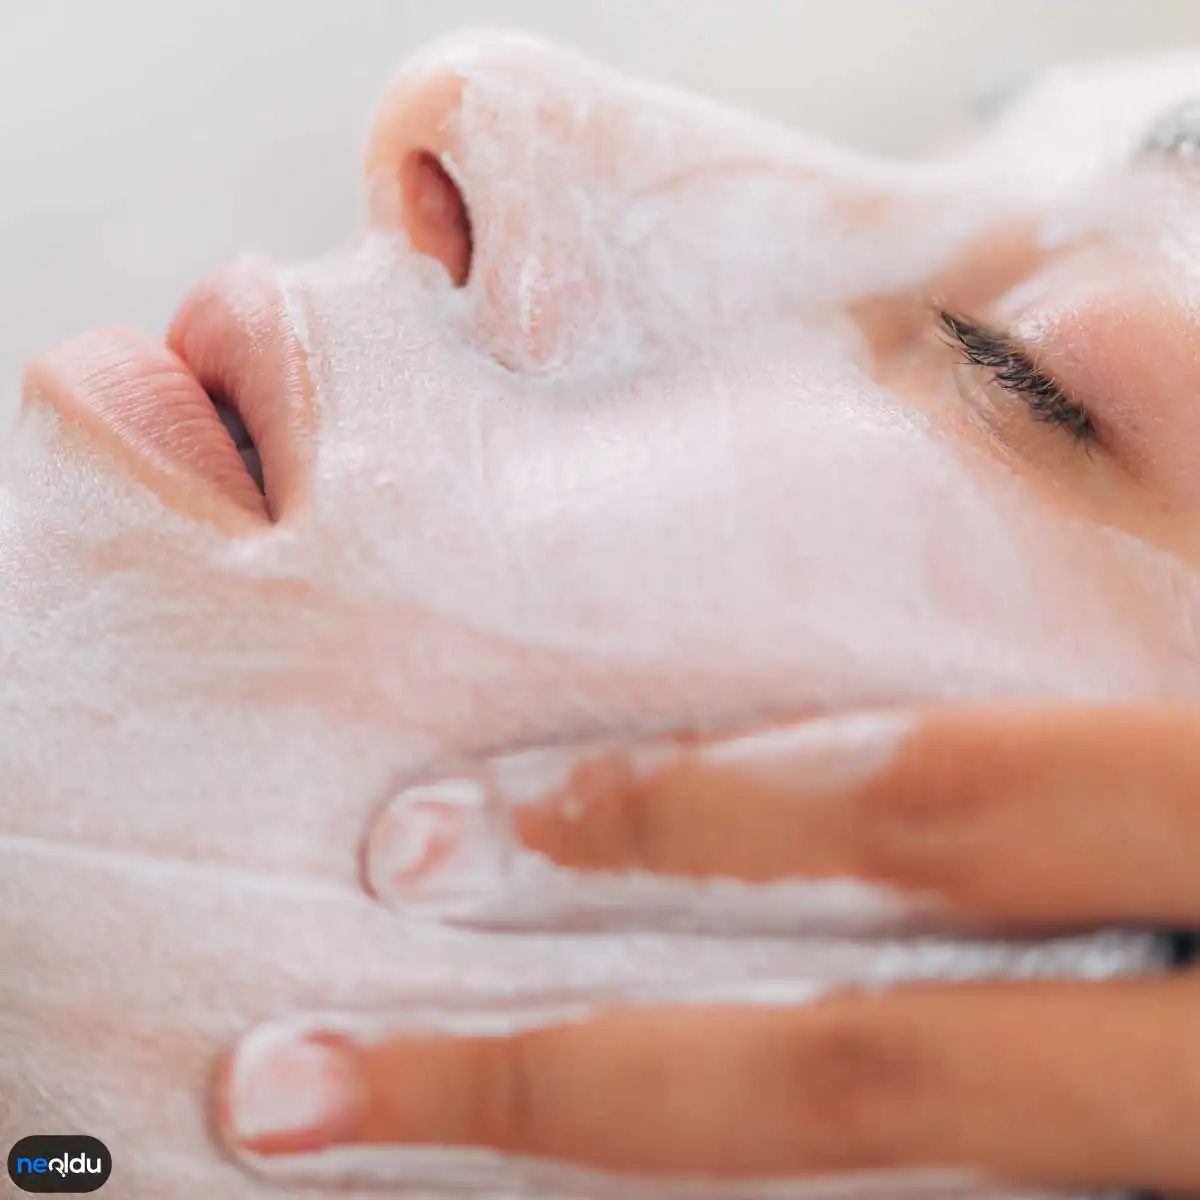
Finding the right material only does half the job. Another critical step is prepare a clean work area. Make-up cloths, dirty spoons or dusty counters can turn the mask you make, even with the purest ingredients, into a toxic home.
The desire to look beautiful comes into play with ignorance of hygiene. First the ground. Then the content.
Why Is Cleaning So Important?
We can’t ignore not only the pressure to be “clean” but also the microbial risk. Masks prepared at home do not contain preservatives like commercial products. This creates an ideal environment for the growth of bacteria, fungi and other microorganisms. A clean area is your first and strongest line of defense to minimize this risk.
- Disinfect the surfaces: Wipe the counter or table where you will prepare the mask with 70% alcohol or a suitable cleaner.
- Wash your hands: If you want to use clean gloves, this is an option. However, it is mandatory to wash your hands with soap for at least 20 seconds.
- Sterilize tools: If you are using bowls, spoons or spatulas, wash them with boiling water or run them in the dishwasher on high.
Which Materials Do What?
Don’t be confused when choosing. Each component has its own specific task. Determining which ingredient to use according to your skin’s current needs directly affects the quality of the results.
- Moisturization: Honey, avocado, yoghurt and essential oils (e.g. jojoba or sweet almond oil). These increase the skin’s water retention capacity.
- Purification and Smoothing: Clay masks (columbine clay, bentonite clay), lemon juice (must be used with caution) and rose water. It cleans the pores and removes excess oil.
- Revitalizing: Avocado, banana and honey. It adds shine and vitality to the skin.
- Pore Minimizing: White apple cider vinegar (diluted), lemon juice and rose water. It helps tighten pores.
Meeting the Needs of the Skin with a Mask
The effects of natural ingredients on the skin have been known for years and these are the ingredients you will prepare.

Choosing a clean space isn’t just a matter of layout. This is the first step that determines the quality of response your skin will receive. Clean all tools and ingredients before preparing your mask ingredients. Unclean tools can degrade the quality of your mask or damage your skin. Clean your tools before each use and store them in a dry place.
Prepare the Mixture Correctly
Many people put the ingredients in a covered container, stir with a teaspoon, and leave it alone. This method is often insufficient. Your goal is to achieve a homogeneous texture. Be patient to avoid lumps or separated layers of fat.
Mixing rules are as follows:
- Do not separate dry and wet ingredients. First, crush the powders (clay, flour, spices) in a separate bowl. Then add liquids (yogurt, honey, oils). This sequence greatly reduces lump formation.
- Use a spoon or spatula. Metal spoons can sometimes react with ingredients or accelerate oxidation. Plastic or wood is safer.
- Make portion control. Do not mix too much at once. When you apply it to your face, there is a risk of deterioration of the remaining part. The rest, if any, can be kept in the refrigerator for a maximum of 24 hours, but freshness is best in the first day.
“The right mixture allows the mask to penetrate the skin. The wrong mixture just dries like mud on your face and pulls and irritates your skin as it peels off.”
Whichever mixing technique you choose, the result lies in consistency. A smooth consistency means equal distribution. A rough consistency causes some areas to be affected very intensely and others very weakly.
Another point you should pay attention to during the mixing process is air intake. Some active ingredients (especially vitamin C derivatives or some essential oils) may quickly lose their effectiveness when in contact with air. If you’re going to use it right away, there’s no problem. But if you’re going to prepare it and keep it waiting, don’t forget to cover it.
When mixing is finished, your mask should have a smooth, fluid but not runny consistency. Just like a heavy cream. If it is too liquid, add dry ingredients. If it is too dark, thin it with a drop of water or oil.
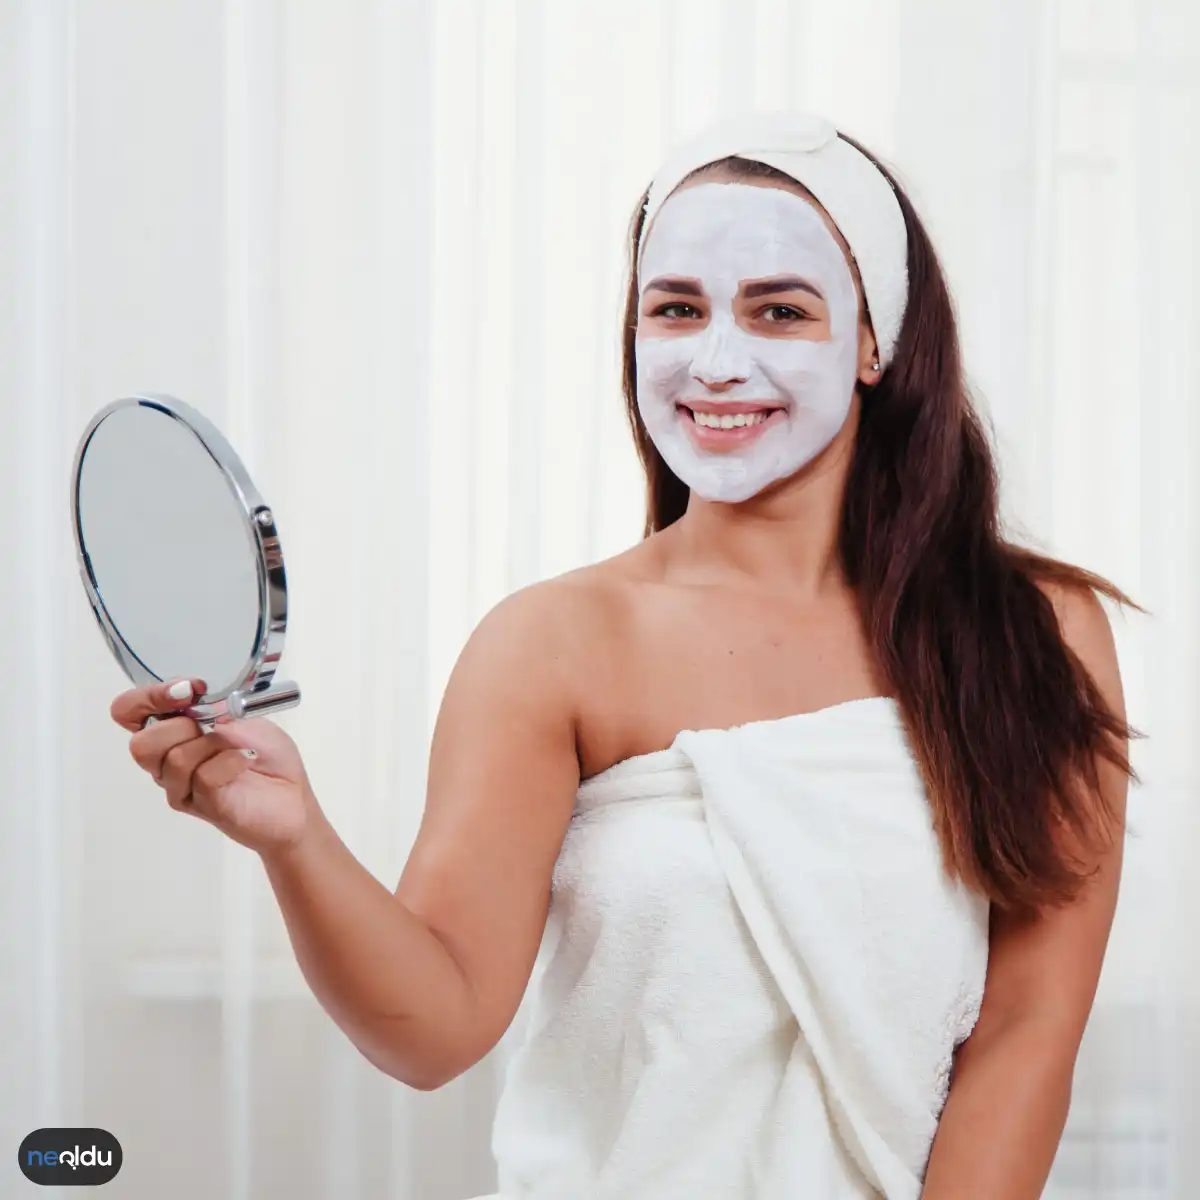
Getting the right consistency is not a coincidence. It is necessary to pay attention to the proportions when mixing the ingredients. Making an eye decision is often risky. Your skin deserves the most suitable ingredients. Wrong choice may cause irritation. Each material has a different effect on the skin. Therefore you have to learn about its effects.
5. Pay Attention to the Quality of Mask Materials
The success of the treatments you prepare at home depends on the quality of the raw materials you use. Poor quality negatively affects the results. Fresh and natural ingredients are always priority. For example, if we are going to use avocado, it must be ripe and without blemishes. Honey must be raw and organic. These details determine your skin’s response.
It takes experimenting to find the right mix. The first try may not always work. Skin type and needs always vary. For sensitive skin, softer combinations should be preferred. Oily skin benefits from lighter textures. Different materials create different effects. That’s why it’s important to customize it according to your skin type.
“Make sure you choose the ingredients that best suit your skin.”
Choosing quality materials is not just for your face. It usually means a better result. Products obtained from clean and reliable sources are safer. Focus on real content, not marketing promises. After all, your skin deserves the best.
Be patient with the trial and error process. Skin care can’t be rushed. Quick solutions often yield short-term results. For a lasting effect, it is necessary to focus on material quality and mixing ratios. These details reveal the difference of the masks you prepare at home.
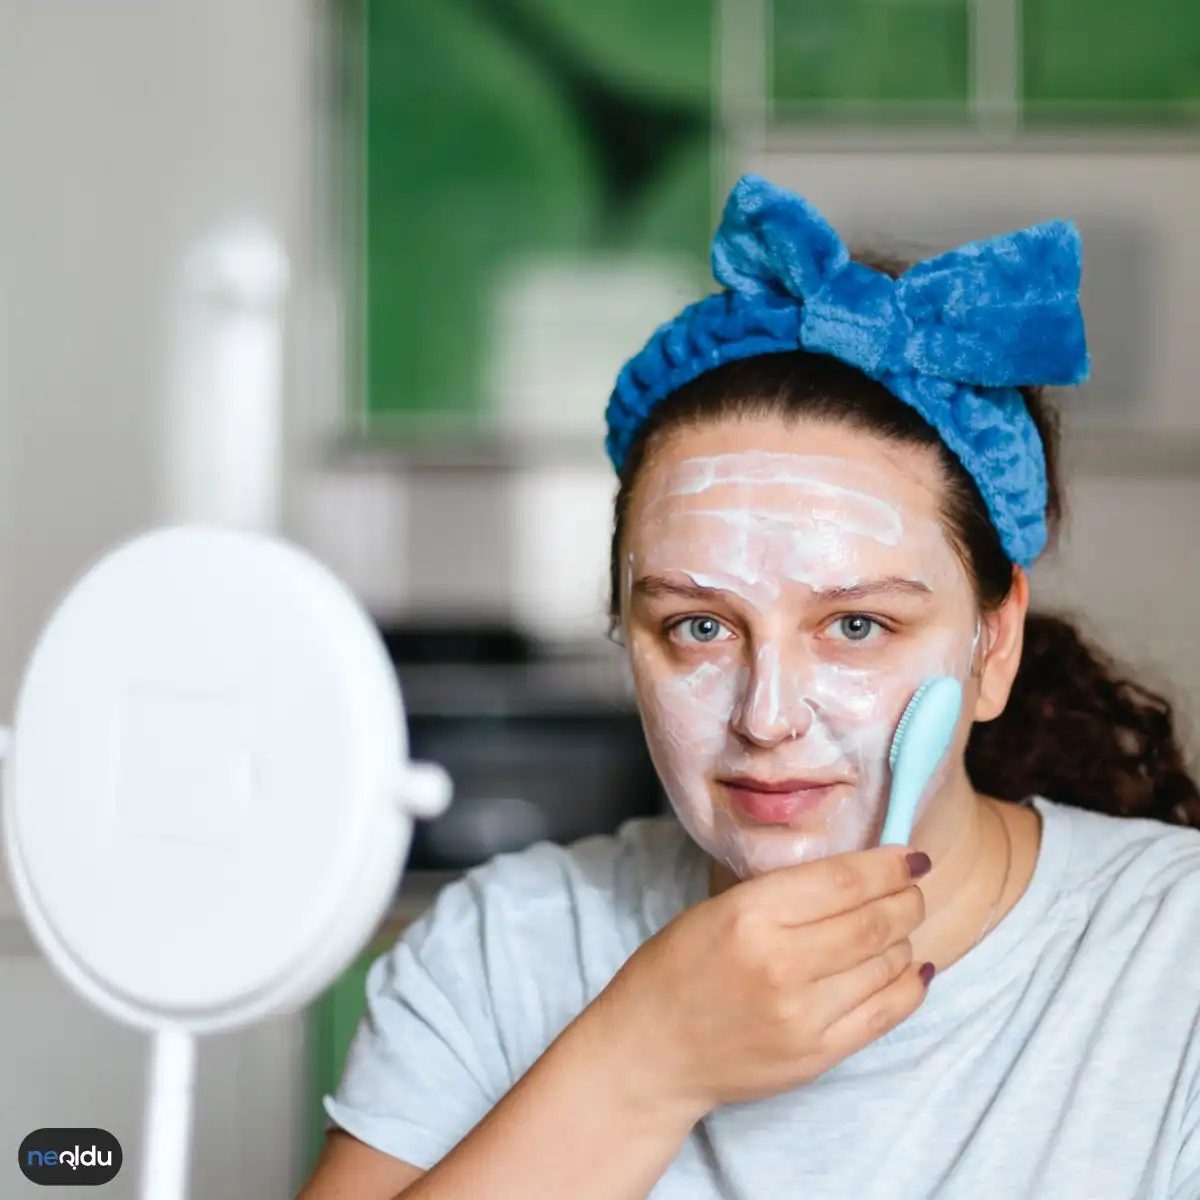
Being meticulous in material selection directly affects the quality of the results. Turning to fresh, organic and natural ingredients is not just a choice, it is a necessity for the health of your skin. Using low quality or processed ingredients may lead to unexpected reactions. The higher the quality, the more obvious the benefit you will provide to your skin.
6. Take an Allergy Test
Although “natural” implies that it is safe, this is not a rule. Herbal extracts, essential oils and sometimes even simple ingredients can cause serious reactions on sensitive skin. Therefore, you should definitely do an allergy test before applying the mixture to your face.
The process is simple, but should not be neglected: Apply a small amount of the mask you have prepared behind your ear or on the inside of your elbow. Wait 24 hours. If you notice any symptoms such as redness, itching, burning or swelling, do not use that recipe. If your skin is giving a warning, it’s wise to listen to it.
This simple step prevents major disappointment and skin damage. Side effects of natural products can often be less severe than those of chemical masks, but they are not non-existent. Know yourself. Make a note in a diary of which ingredients are good for you and which bother you. This way, you strategize rather than mobilize.
The secret to success in natural care is to be patient and listen to your skin’s signals.
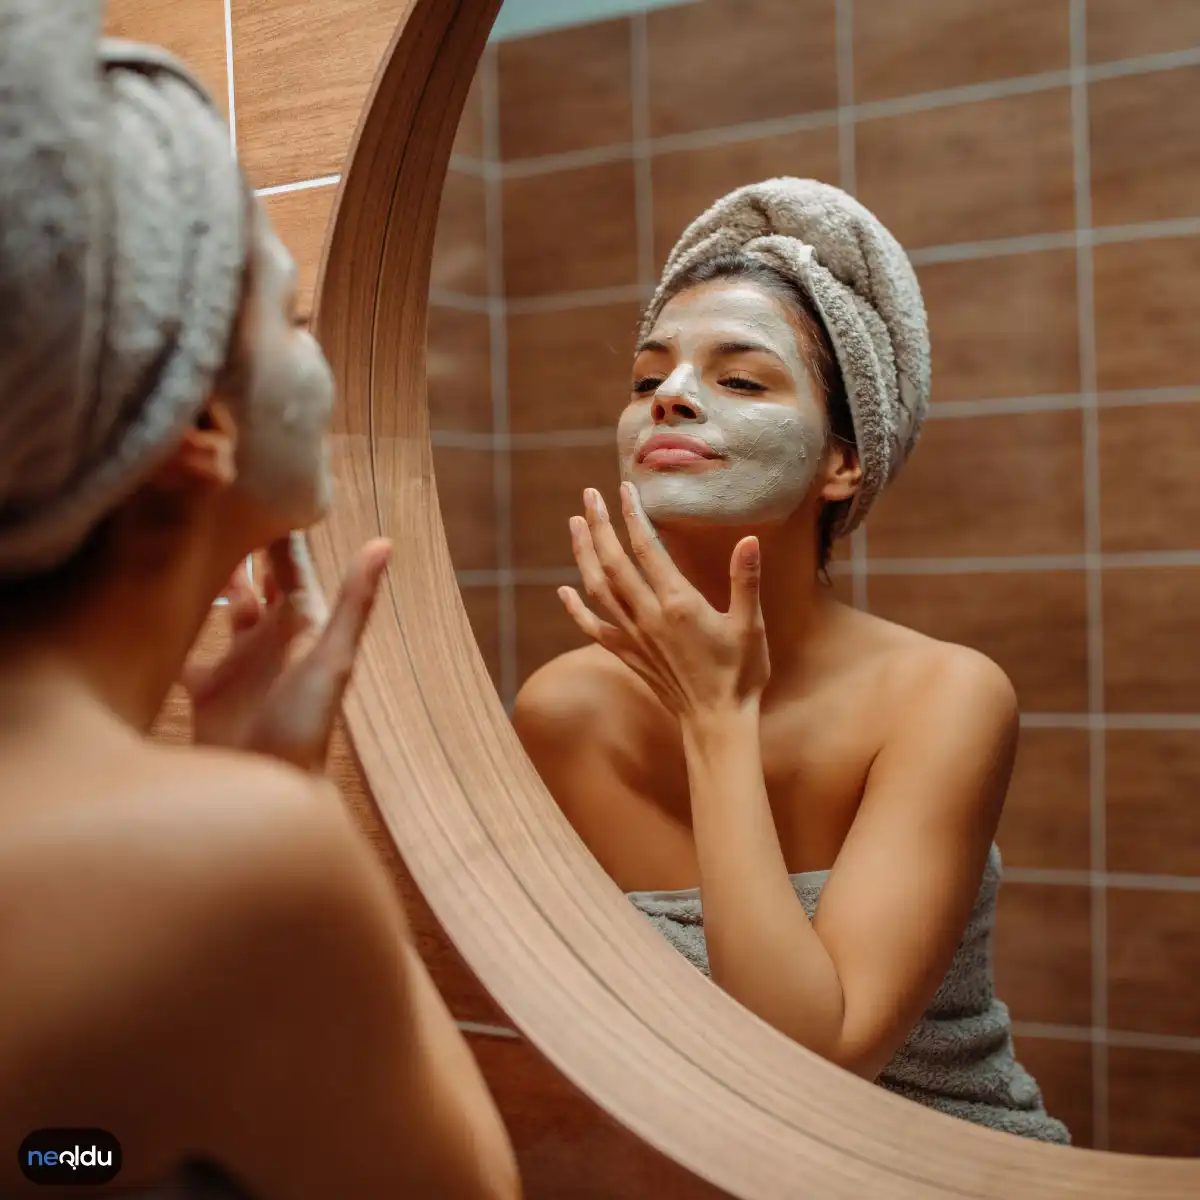
Some natural ingredients can cause unexpected allergic reactions, especially if you have sensitive skin. To minimize this risk, be sure to do a patch test before applying the mask. How to do allergy test for homemade skin masks? Apply a small amount to your inner arm or wrist and wait 24 hours. If you experience any symptoms such as itching, redness or burning sensation, stop applying that mixture to your face.
7. Store Your Mask in Appropriate Conditions
There are no preservatives in natural products. This means you should use it to its full potential at the same time. If you have leftovers, you can preserve them until next time if you store them properly instead of throwing them away. However, there is a critical rule here: The time to store homemade face masks in the refrigerator is very limited.
Masks based on fresh fruit, vegetables or yogurt usually last for 24 hours at most. Leaving it for longer than this increases the risk of bacterial growth and material degradation. If you notice any change in its original color or smell, consider that mask to be no longer usable. Your safety comes first.
You rinsed the mask. The ingredients came together. So, what happens now? You don’t have to apply it to your face right away.
Actually, you can wait.
Throwing it in the refrigerator prolongs the life of mixtures prepared with fresh ingredients. It preserves freshness. But remember; It is not possible to keep some recipes for very long. Especially fruit or vegetable based ones spoil quickly. For security, always notice any changes that catch your eye. If the smell changes, the color fades – throw it away.
Here are the practical details of using the mask correctly for your skin.
What is a Skin Mask for and why is it important?
The mask is a direct way to care for your skin. Moisturize. Feed. Revive.
If you choose the right ingredients, you will directly absorb the vitamins, minerals and antioxidants your skin needs. This is a support system that comes into play when daily creams are not enough.
Which Ingredients Nourish the Skin Best?
When choosing, you should understand the language of your skin.
- Honey: It is a natural moisturizer and antibacterial agent.
- Avocado: It is a source of lipids to combat aging and dryness.
- Oatmeal: It is soothing for irritated skin.
- Coconut Oil: Powerful for deep nourishment.
- Argan Oil: Restores elasticity.
- Green Tea: It is a source of antioxidants and reduces inflammation.
- Clay: Cleans pores and absorbs oil.
- Fish Oil: Rich in Omega-3, stretches the skin.
If you have dry skin, turn to moisturizers like honey and avocado. If you have oily skin, clay-based options are more suitable. Both groups give different but effective answers to the question “what is a skin mask used for?”
Application Frequency and Method
You don’t have to wear the mask every day. Using it once or twice a week is often sufficient. Too much can weaken the skin’s barrier.
How is it applied?
- Cleanse your face thoroughly beforehand. A face free of dirt and make-up absorbs the mask better.
- Use your fingertips. Apply with light, circular movements.
- Wait the specified time. Avoid the eye area, this area is generally sensitive.
- Rinse with warm water. Hot water can dry the skin.
Post-Practice Ritual
The work is not over after the mask comes off your skin


